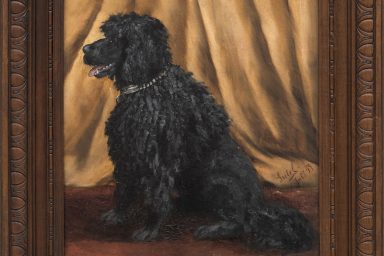
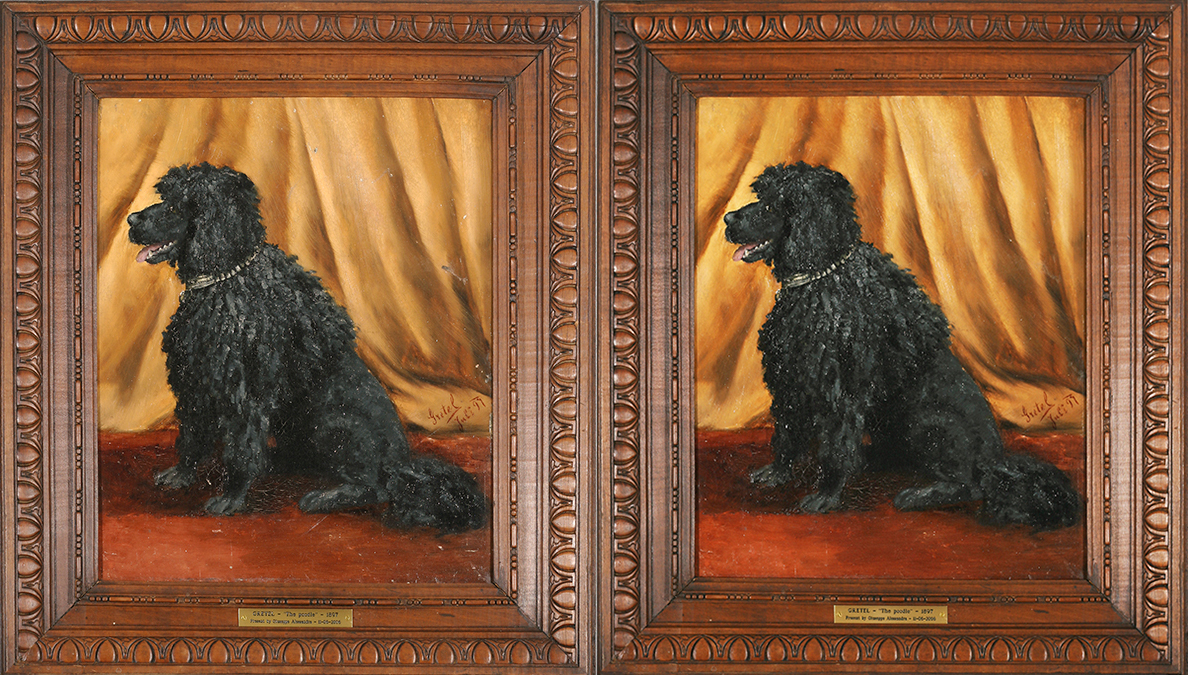
An old poodle painting from the 19th century was restored because of the damage on the paint surface. The painting was also cleaned in the same process.
Workflow
- Removing the painting from its frame
- Cleaning
- Repairing the damage on the surface
- Applying paint on paint losses
- Reframing the painting
First the painting was removed from its frame, so that the frame and the back of the painting could be cleaned from dust. The paint surface was cleaned with triammonium citrate and finally with water.
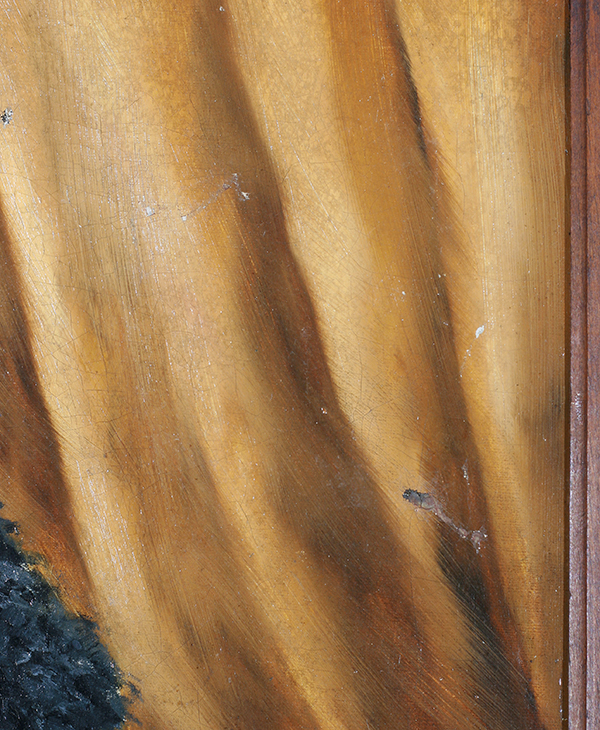
Sturgeon glue was used as an adhesive on the cracks and the small paint losses. Sturgeon glue is colorless glue commonly used in restoration, and it is made of the swim bladder of the sturgeon fish. While applying the glue, the cracks with lifting edges were pushed down with heat and weights.
There was an old hole on the right side of the painting, which had been patched up poorly during the earlier conservation. The old caulking was removed mechanically. The damaged canvas was patched up by organizing the fibers and gluing them together with a mixture of sturgeon glue and wheat starch. A piece of polyester voile with glue coating was put on the backside of the canvas for support.
After this, the paint losses were filled with putty, and restored with restoration paint.
Finally, the rabbets of the frame were padded to stop the edges of the painting from rubbing against the wood. Metal strips were added to the frames for hanging the painting. Hangers were also added to the frame, in addition to the already existing tab on the upper side of the frame. The hangers make it possible to hang the painting on a picture rail, when needed.
Restoration report and pictures by Anna Lehikoinen, Konservointikilta